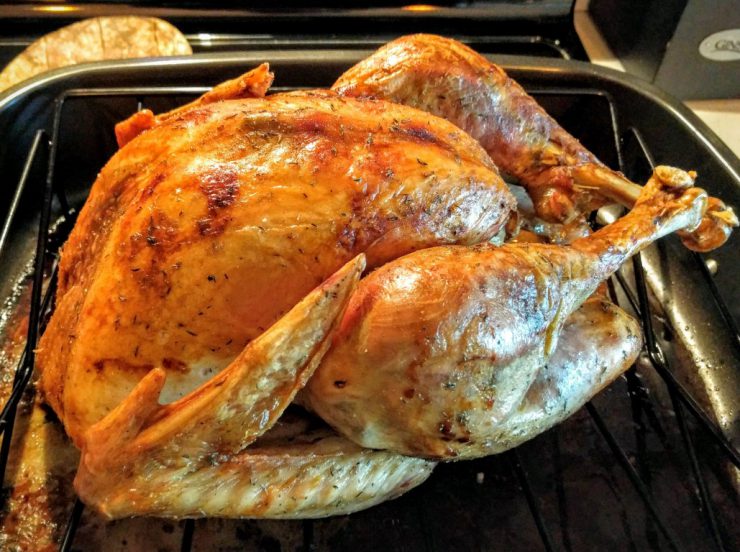
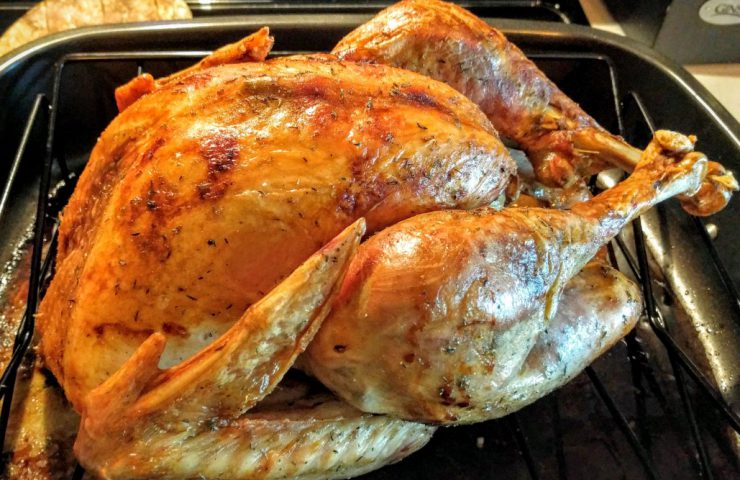
If you’ve never roasted a whole turkey (or even a chicken) before, it can be pretty intimidating. The first time I ever made a turkey was about 6 years ago, when Evan and I decided to host a dinner party (with a full Thanksgiving spread) for some good friends of ours, Kellie and Dan, in Minneapolis.
I recall being in the kitchen with the turkey, feeling intimidated and completely clueless about what I needed to do. I remember calling my mom, asking for help, and feeling reluctant to actually touch and handle this large bird. That’s normal, right?
Another added point of stress: the morning of our dinner, I realized the turkey was still slightly frozen. I clearly didn’t allow enough time for thawing the turkey in advance, so I thankfully I figured out I could soak the turkey in a water bath to aid in the thawing process.
Once I got past those hurdles, I followed a basic recipe, seasoned the bird, and got it in the oven.
About halfway through the cooking process, I realized I didn’t own a meat thermometer so Evan ran to Target down the street about 15 minutes before our friends showed up. I didn’t know how else to tell if it was cooked, and I really didn’t want to mess that part up!
The best part about this story is when our friends showed up, they were totally surprised I had made an entire turkey dinner. Turns out, Evan failed to mention that to them when he invited them over for dinner.
Despite my lack of experience with roasting a turkey, it turned out pretty well and we had a great dinner together. And that night started a multi-year Friendsgiving tradition with them. They even traveled to Seattle the first year after we moved to celebrate with us – aren’t they great?!
Since that year, I’ve experimented with my turkey recipe, tweaking a few things and discovering what I like best; I finally have a go-to version I enjoy. And I think it goes without saying I’m not intimidated by the thought of roasting a turkey anymore!
My recipe is very basic – I don’t use a brine or anything crazy, but it yields a nice turkey each year.
Before Thanksgiving day arrives, make sure you give the turkey plenty of time to thaw out if you’ve purchased a frozen turkey. Don’t learn the hard way on this one like me. I typically allow 2 to 4 days of thawing in the refrigerator, depending on the size. If it’s still slightly frozen the morning of, prepare a cold water bath in the sink and place the turkey in it (while still in the packaging) until thawed.
Begin by preheating the oven per the instructions on your turkey – typically 325°F to 350°F.
Remove the packaging from the turkey, and remove the giblets from inside the cavity. Personally, I don’t like to use the giblets so I discard them, but feel free to hang onto them if you prefer. Rinse the turkey with water then transfer to a large platter or baking sheet that you can use for prepping.
Using paper towel, dry the turkey thoroughly, inside and out. Generously season the bird, inside and out, with salt and pepper.
Roughly chop fresh thyme, rosemary, and sage – about 1 to 2 tablespoons of each. In a bowl, add about 1/3 to 1/2 cup of olive oil, then mix in the freshly cut herbs.
Using a basting brush, generously coat both sides of the turkey with the olive oil and herb mixture; I tend to add some to the cavity as well.
Now comes my favorite part that adds a lot of great flavor – butter! Grab about 1/4 cup of butter and cut it into small tabs – above the size of a fingernail. Gently work your fingers underneath the skin of the turkey until you reach the end of the breast; be careful not to tear the skin. Then distribute the small tabs of butter under the skin. If you have some leftover, just add them to the cavity. If you’re looking for some additional guidance, I found this how-to video from Epicurious on adding butter under the skin to be really helpful!
Using twine, tie the legs of the turkey together to help maintain the shape and retain moisture. Then transfer the turkey to a shallow roasting pan.
Place the turkey in the oven and roast according to the package instructions (it depends on the size of your turkey) until a meat thermometer registers 165ºF. I found the USDA guidelines for safe turkey cooking very helpful!
When it’s nearing the end of the cooking time, keep an eye on the turkey and don’t be afraid to tent the pan with tin foil if the bird is getting too brown. I’ve actually never had to do this, but it’s a good thing to look out for.
Once the turkey is fully cooked, remove from the oven and cover the pan with tin foil to retain heat. Let the turkey rest about 30 minutes before carving.
One helpful tip: if you want to make your gravy in the roasting pan with all of the turkey drippings, transfer the turkey to another pan after about 5 to 10 minutes, maintaining the tin foil cover. Then start on the gravy while the turkey continues to rest.
After 30 minutes, carve the turkey and put the finishing touches on the gravy and any other side dishes (maybe stuffing with sage sausage or mashed sweet potatoes). Then sit down, relax, and enjoy this delicious meal!
I hope everyone has a wonderful Thanksgiving!

