My husband recently took a two-week business trip to China and got back just in time for his Birthday. I wanted to make him a special Birthday dessert, especially since I knew he was so excited to eat American food again. I made a batch of homemade ice cream to have on hand and decided to attempt Crème Brûlée, one of his favorite desserts.
I browsed online for a basic recipe and stumbled upon the Pioneer Woman’s Crème Brûlée . I’ve enjoyed her recipes in the past because they are easy to follow and they’ve always turned out well, so I decided to give it a try.
Now that I had the recipe, I knew I needed to purchase a butane kitchen torch. I read some reviews on Amazon and decided to purchase the BonJour torch along with a set of oval ramekins meant for Crème Brûlée.
I stopped at the grocery store, loaded up on heavy cream and eggs, and purchased superfine Baker’s sugar for the caramelized topping. I’ve heard regular sugar can be used as a replacement, but it takes longer to caramelize.
Even though the recipe looked fairly easy (and resembled the process for making homemade ice cream) I was somewhat intimidated by it. Maybe it had something to do with using a torch with an open flame in my kitchen? Despite my slight hesitation, I decided to continue my attempt at this dessert.
After preheating the oven, I heated heavy cream and vanilla extract in a saucepan and allowed it to simmer. In a separate bowl, I whipped egg yolks with sugar until they were pale yellow. Similar to ice cream, I tempered the eggs, meaning I slowly added hot cream to the eggs to ensure they didn’t cook. Once all of the cream was added and mixed in, the batter was ready.
I placed my ramekins on a cookie sheet and slowly added water until it surrounded the ramekins and went about halfway up the sides. I used a Pyrex measuring cup with a spout to distribute the custard batter between the ramekins. Even though I cut the recipe in half, I still had a lot of leftover batter. Next time I make it, I will cut the recipe into fourths.
I carefully transferred the cookie sheet with filled ramekins to the oven and baked for 35 minutes.
After removing from the oven, I allowed the ramekins to cool and then transported them to the refrigerator. I didn’t read the recipe thoroughly before I started and therefore was not able to plan accordingly for the 2 to 3 hours of chilling time needed. I had already started on dinner by the time I realized it so I only ended up leaving them in the refrigerator for 1 hour.
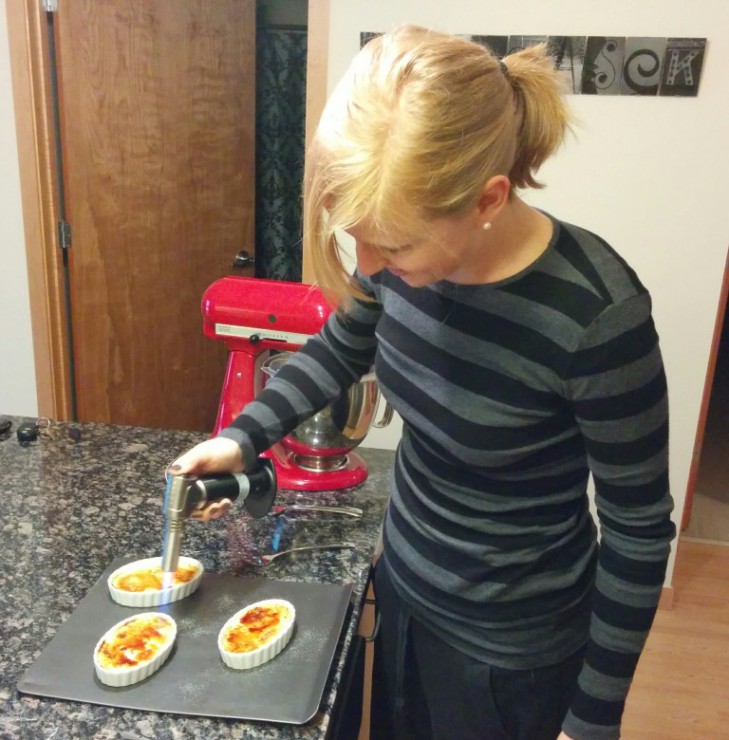
Right before I was ready to serve dessert, I sprinkled a small spoonful of superfine sugar on top of each ramekin. After reading the manual and figuring out how the heck to use the torch, I carefully ignited the flame and quickly browned the sugar on top of each ramekins – surprisingly without burning it!
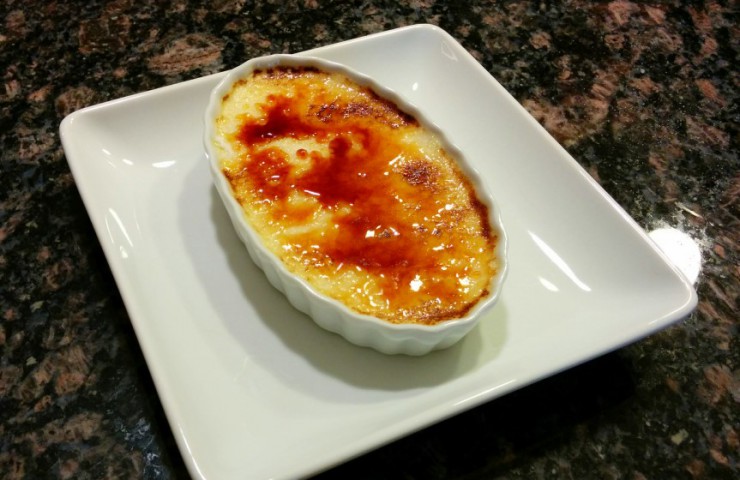
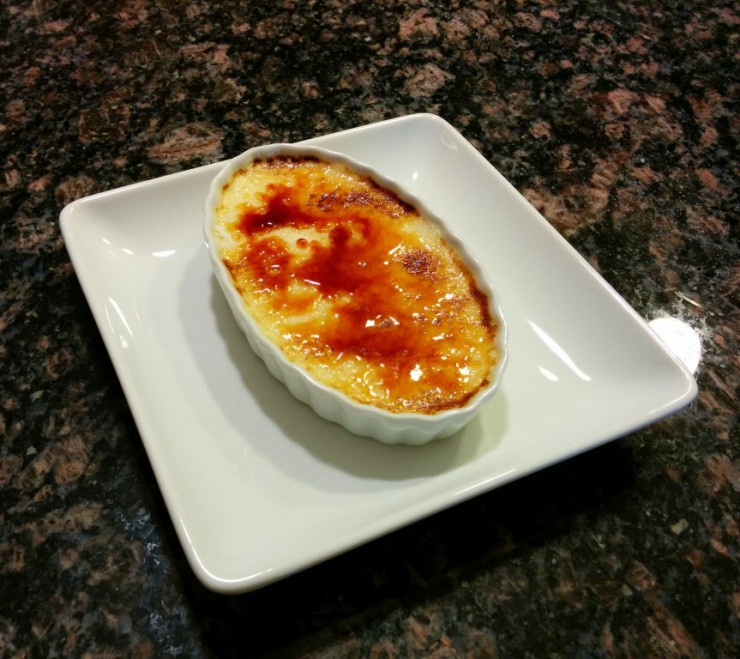
There was a nice, thin layer of caramelized sugar on top that added the perfect crispness to the creamy custard.
Since I didn’t allow the ramekins to chill for the recommended time, the custard did not firm up as much as it should have, so the texture was a bit off. However, they still managed to taste great. While my attempt didn’t turn out perfectly, it was a good learning experience and I know how to improve the process for next time. Overall I was pleased with the recipe and the result. It ended up being a great Birthday dessert and I will definitely be making Crème Brûlée again!